Back call


The Assembly of the inverted microscope Leica DMi8C
Статья-инструкция по сборке инвертированного микроскопа Leica DMi8C для дальнейших металлографических исследований. Собрать металлографический микроскоп одной отверткой - это легко!
05 September 2017, 15:45

In this article You will get some basic information on the Assembly of the inverted microscope-for example, Microscope Leica DMi8C (Germany).
Before beginning Assembly, make sure the integrity and security of the package (figure 1). The microscope is a precision instrument. Handle with care and avoid sudden and severe shocks. Carefully remove the microscope components from the box.
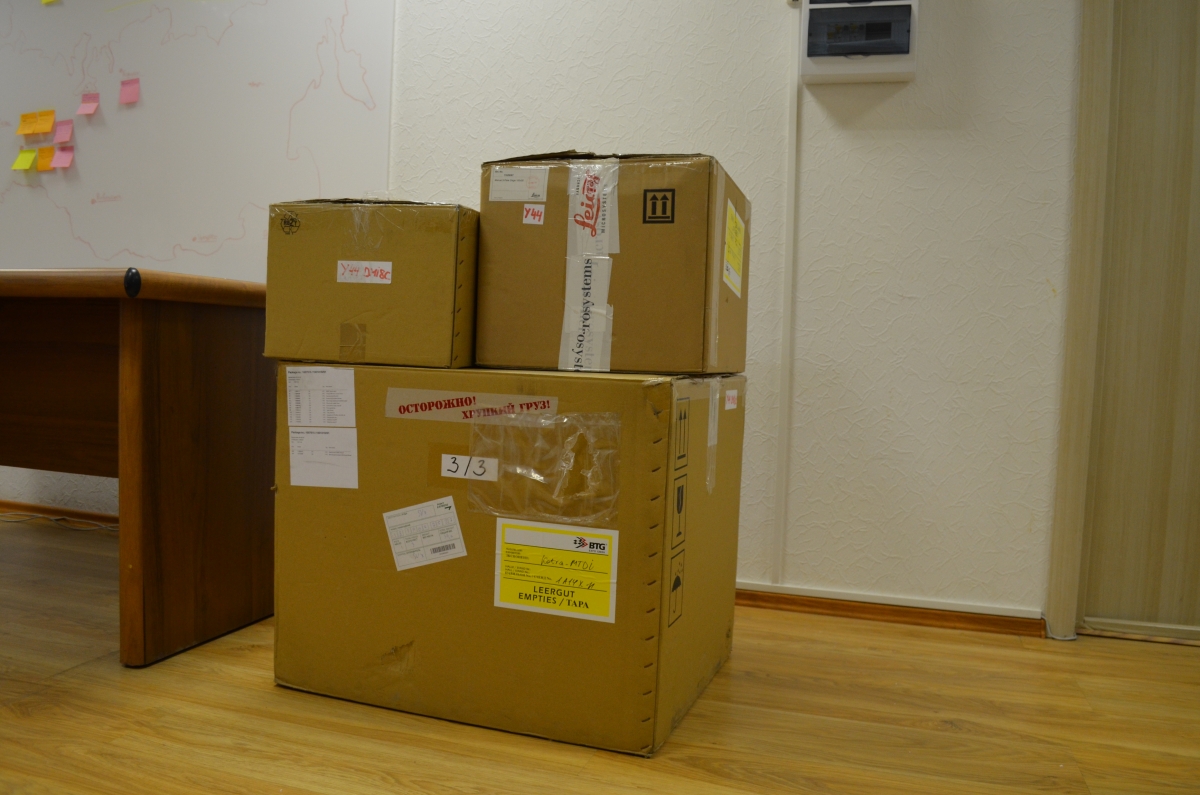
figure 1. Microscope Leica DMi8C Packed in boxes.
As a rule, all components of the microscope can be collected using one hexagon 3 mm (figure 2).

figure 2. Screwdriver hex 3.0h100.
we Begin the process of assembling the microscope optical part lenses. Revolver with centered sockets (figure 3) located on the body of the microscope, provides the installation in the working position of the five planachromatic lenses with the increase from 0.75 x to 150X.
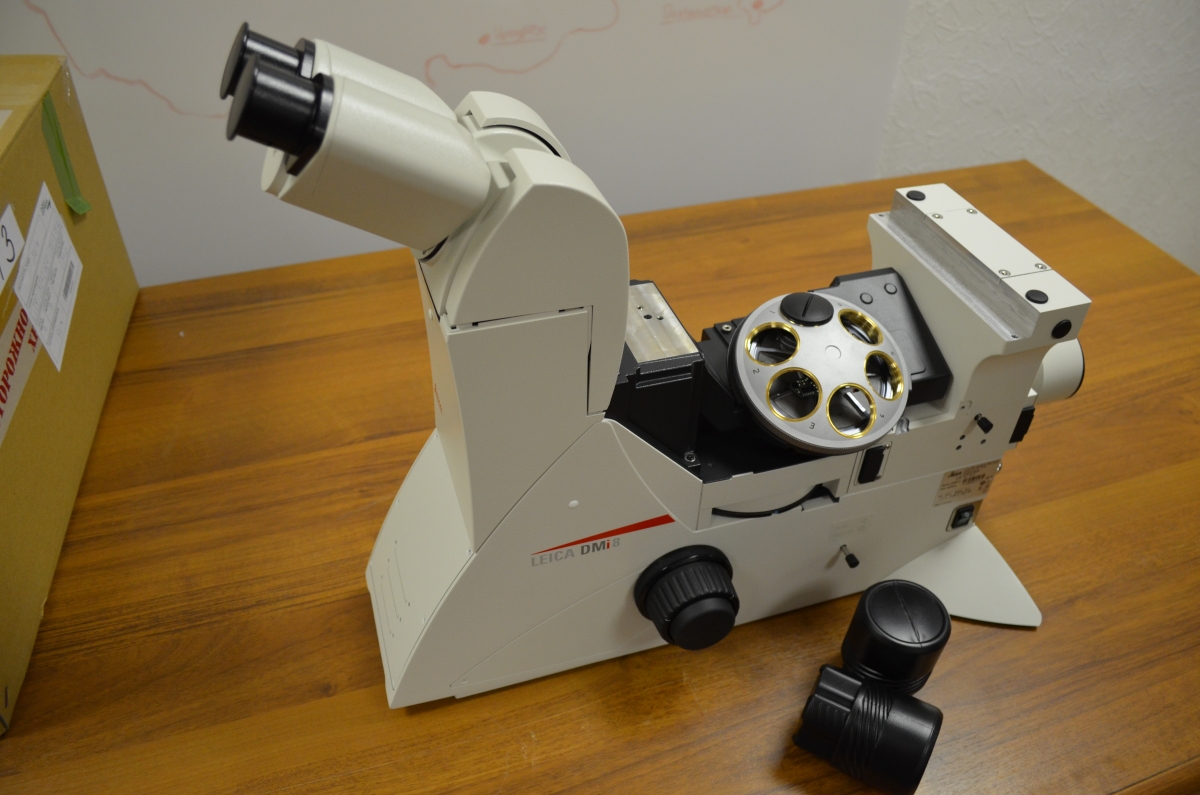
figure 3. The revolver of the microscope 5 lenses.
In the case of each lens in accordance with the increase of the applied color ring, numerical aperture, compensation value for the thickness of the cover glass, and other optical characteristics (figure 4).
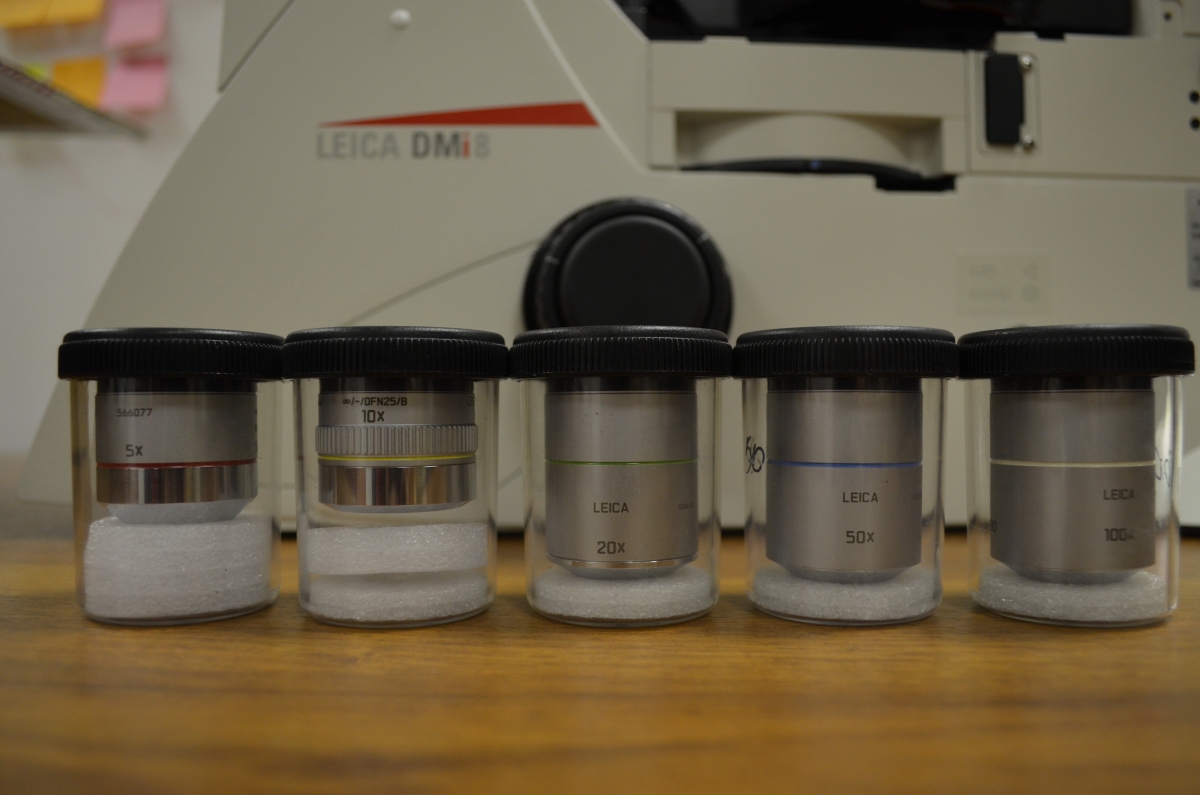
figure 4. Planachromatic lenses with technical specifications.
Gently screw the lens to the revolver in ascending order of magnification clockwise (figure 5).
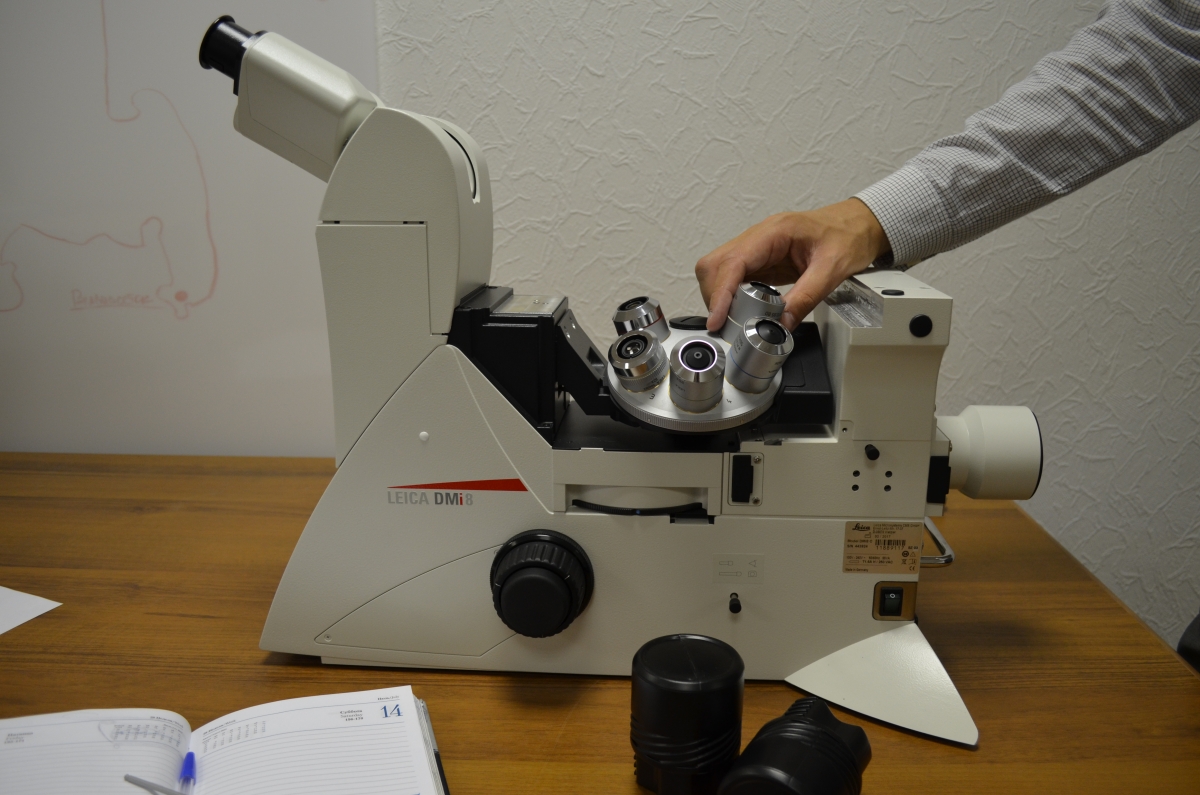
figure 5. Entering lenses in the revolver.
For the greatest magnification of the sample set wide-field eyepieces with a magnification of 10 and the linear field of view of 22 mm (figure 6). Put on the eyepiece. Tighten rotary ring.
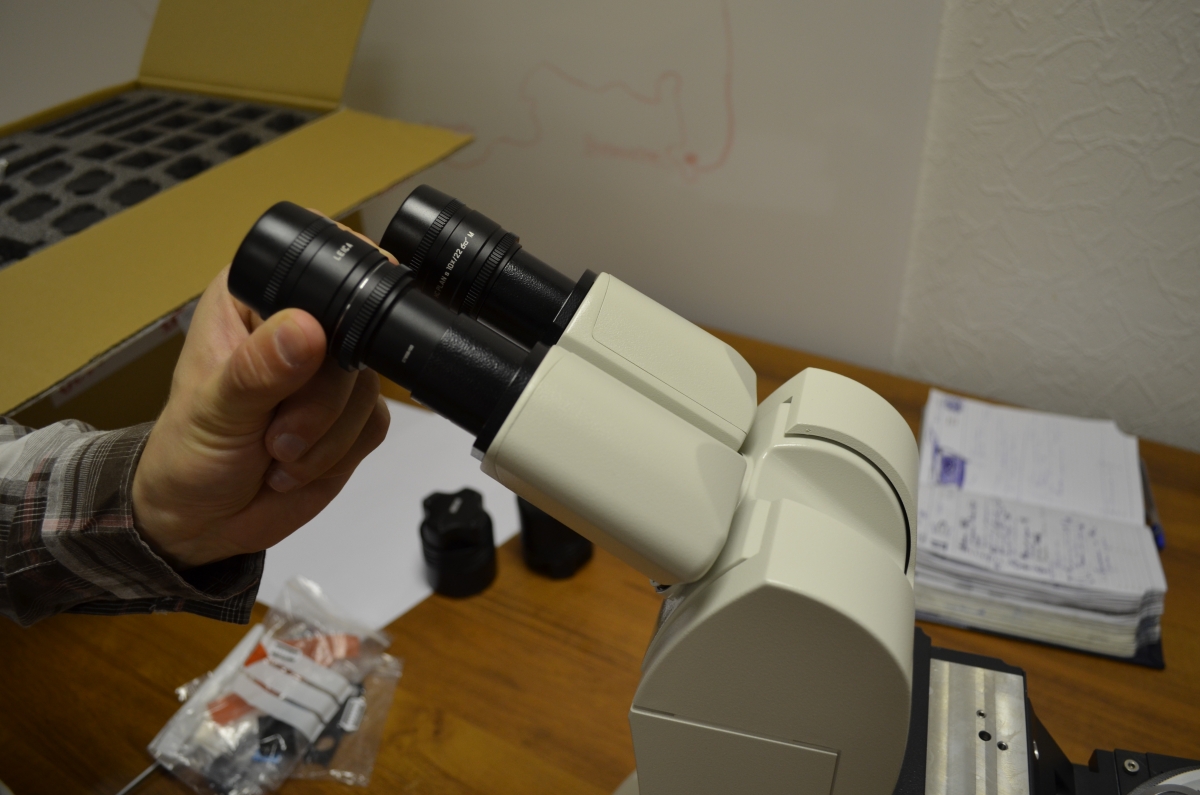
figure 6. Wide-field eyepieces Leica HC Plan s 10x/22
Microscope Leica DMI8 also features kit polarization intended for the qualitative and quantitative studies of the optical characteristics of objects. Polarizing filters are installed in their designated holes under the revolver (figure 7).
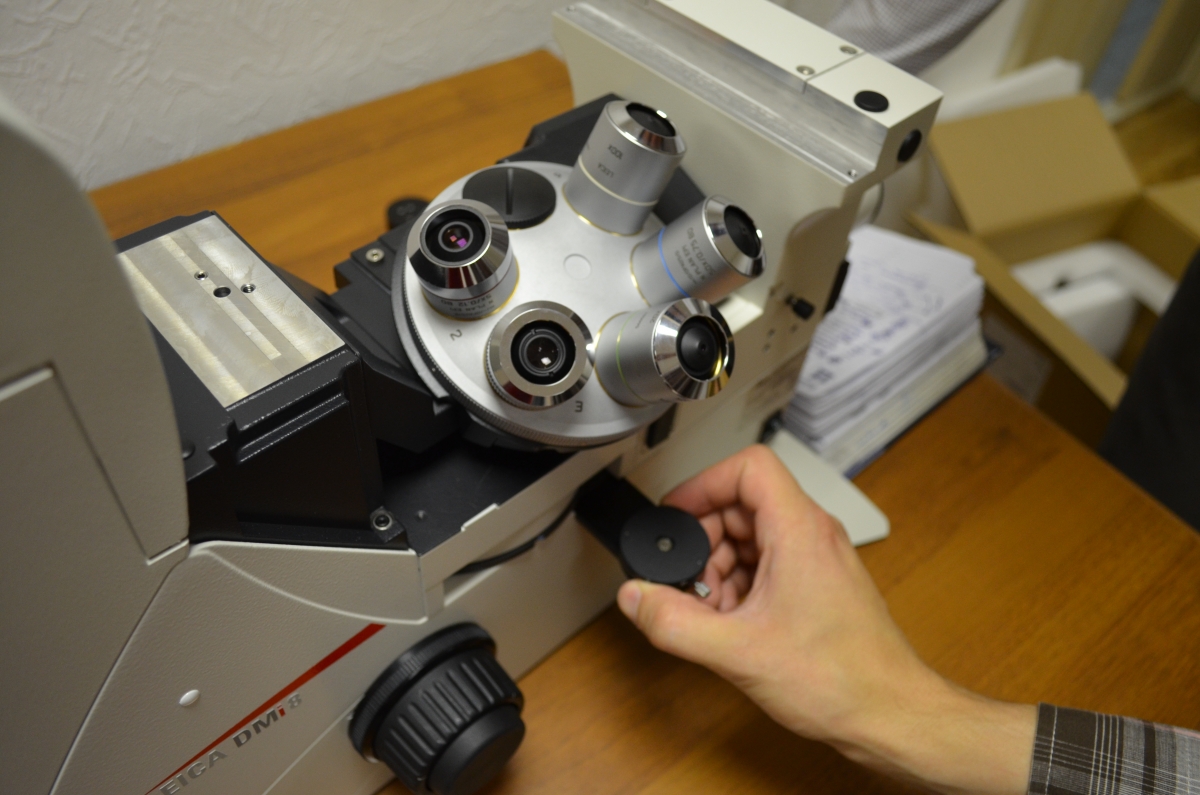
figure 7. The installation of a polarizing filter
subject mechanical table, which is installed on the object under study, which is fixed on the upper part of the microscope above the lens (figure 8, 9). Due to the complex structure in which the two parts of the table are moved and regulated, the position of the studied drug can be adjusted and rotated a certain angle.
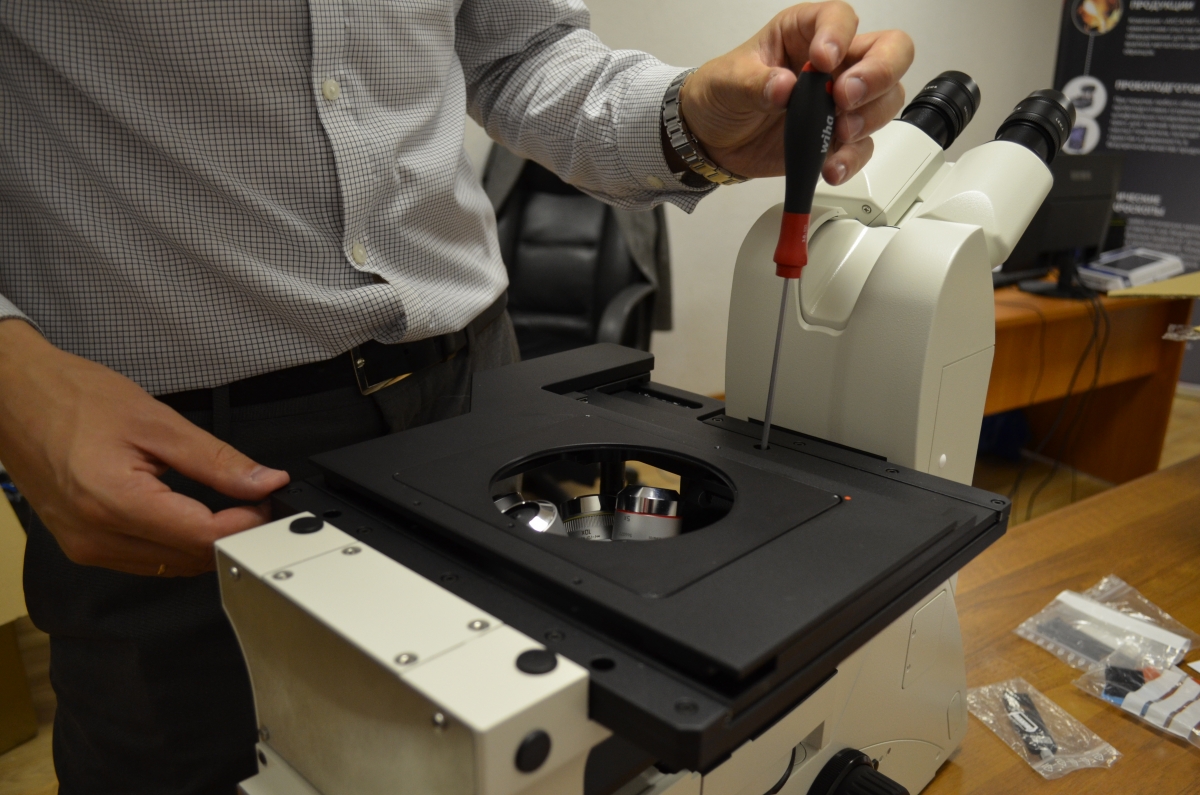
figure 8. The installation of a movable subject table
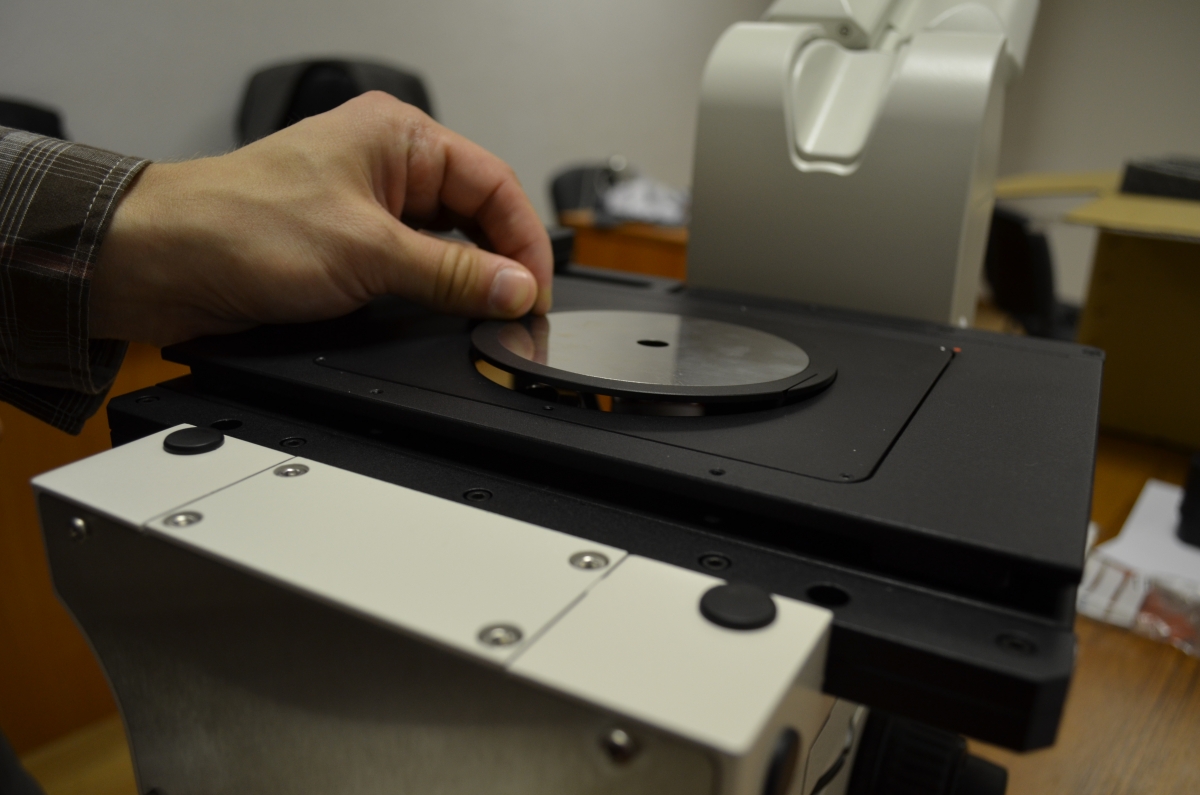
figure 9. Insert in sample stage, d=10mm
One of the main components of any microscope, the illuminating part. It is designed to create a luminous flux, which allows to uniformly illuminate the object without a dome light. Thus, creating a high quality picture image that is so necessary in the work with microscopes. The lamp house is attached to the tripod of the microscope with a single screw located between the illuminator and a tripod (figure 10).
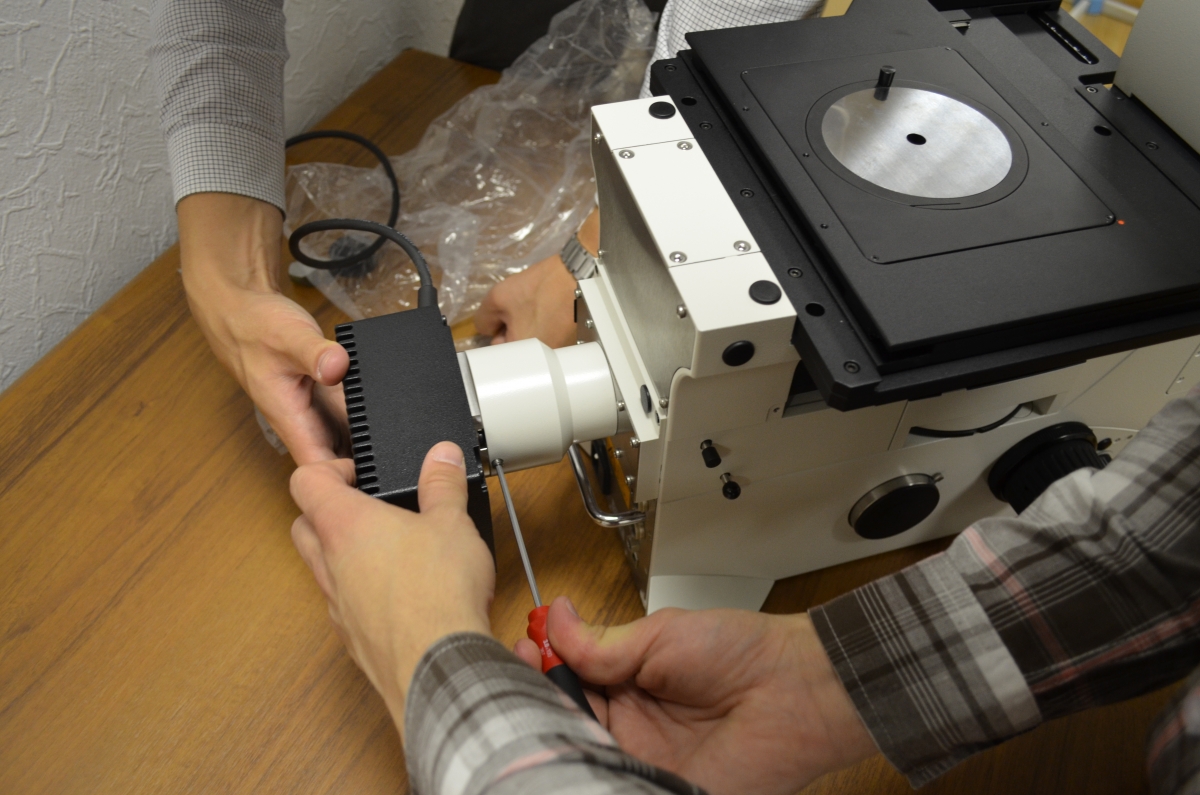
figure 10. Installing lamp house to the microscope tripod
Our microscope is almost ready to use. We have to attach the camera and connect to the network (figure 11, 12).
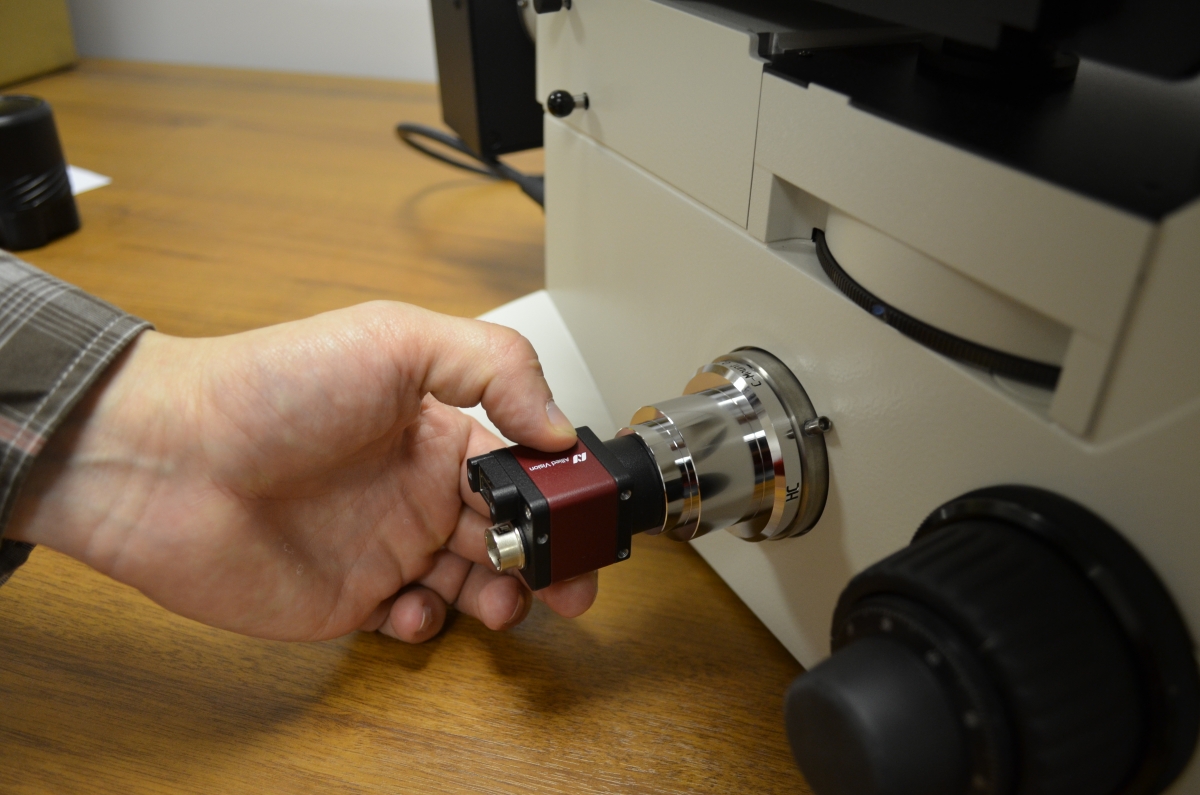
figure 11. The installation digital camera for microscope.
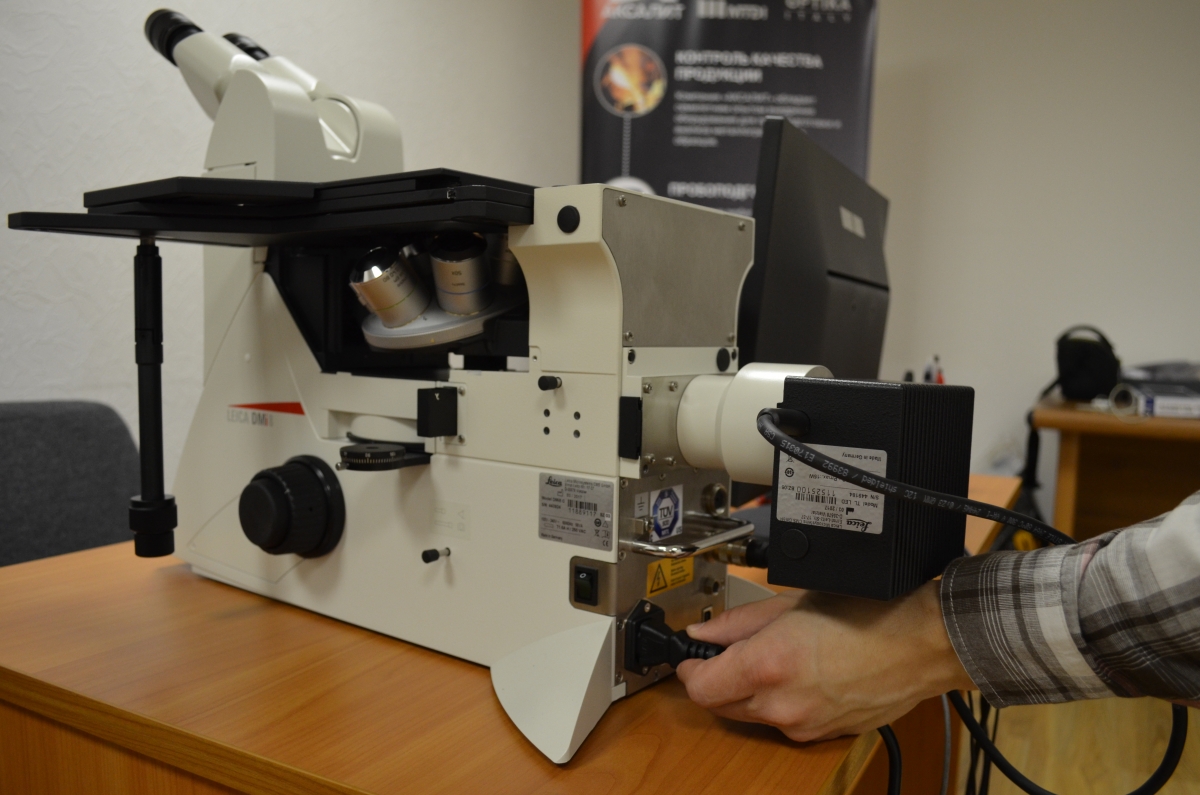
figure 12. Connect the assembled microscope to the mains power supply.
the Final stage of preparation of the apparatus will be adjusting the lighting. Make sure that lamp light the house on fire. If there is no light, then carefully remove the lamp house and check the operation of the lamp. If necessary, replace the lamp.
the Appeared a beam of light, should clearly fall on the sample through the sample table (figure 13).
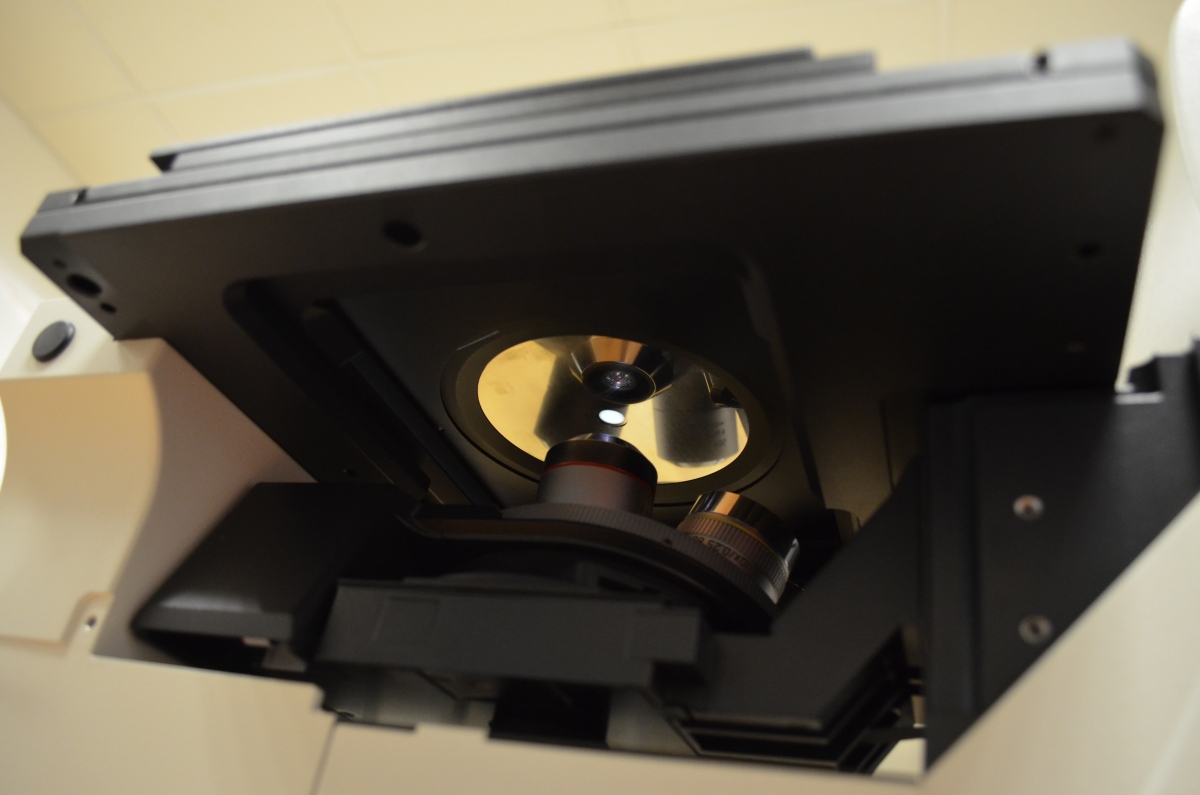
figure 13. A beam of light
in the absence of light on the sample:
Check diaphragm (field aperture) (figure 14)

figure 14. The levers of the diaphragm.
Check the amount of brightness (figure 15).
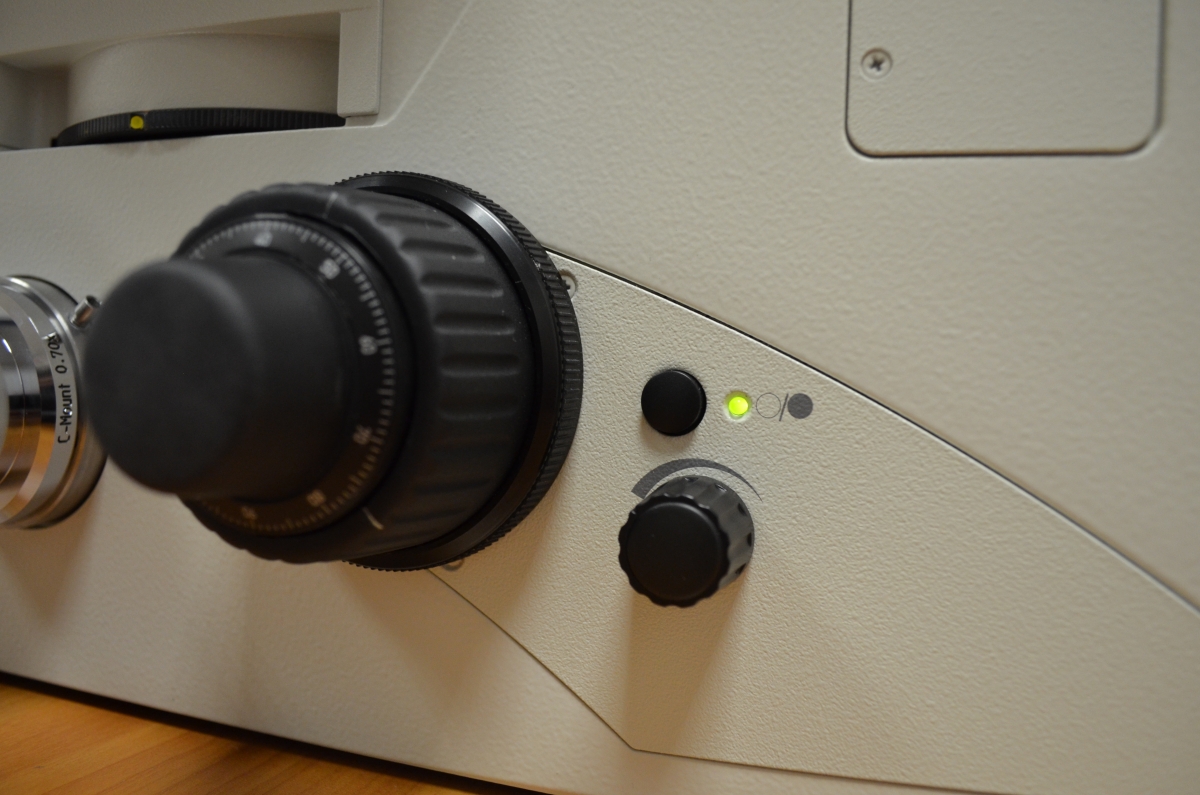
figure 15. The brightness slider.
Check whether the polarization (figure 16).
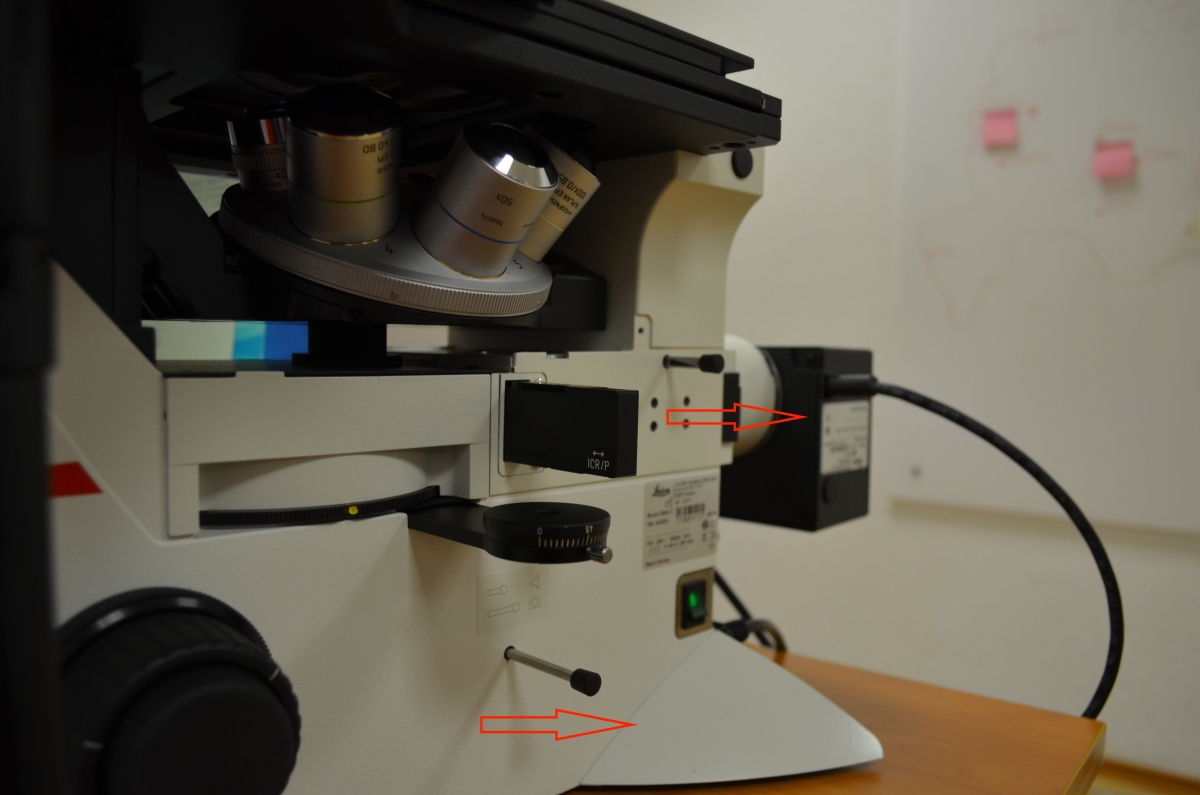
figure 16. The levers of polarization.
Check whether you are using a darkfield lighting method.
In binoculars You will see a clear image of the studied sample. In the absence of pictures, check the position of the adapter the light on the eyepieces camera.
Get started!
News

31 August, 2023 г.
25 августа в Екатеринбурге состоялась торжественная

24 July, 2023 г.
С 24 по 28 июля пройдет голосование в номинации "

04 July, 2023 г.
Принимаем заявки до 21 июля 2023 г.
Успевайте принять
Video

44:20
Анализ металлов и их экспертиза Неметаллические включения - часть 2 На вебинаре мы провели экспертизу включений на оптическом и

57:42
Вторая лекция «Анализ металлов и их экспертиза. Неметаллические включения» затронула вопросы неметаллических включений и их

51:50
Первая лекция затронула вопросы проведения исследований металлов с помощью стереомикроскопов.
Изученный материал:
- Применение